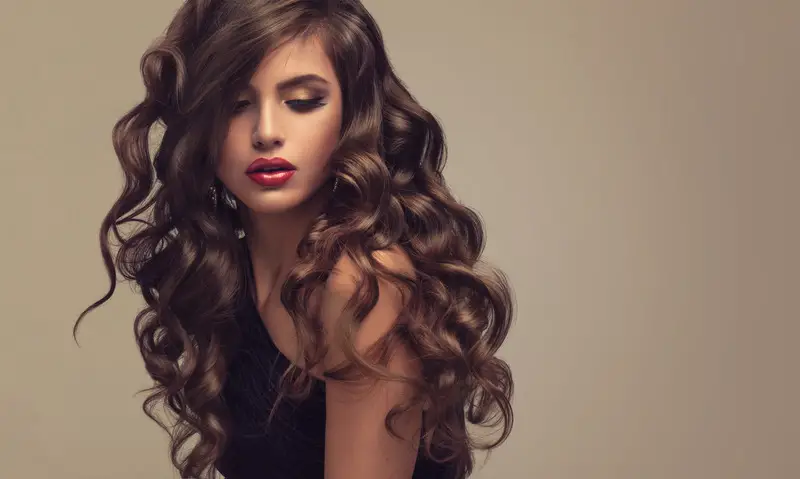
Where there are bazillions of hairstyling tutorials available online saying- “How to curl your hair,” they are mostly not specific enough to tell you which one suits best for your long hair that you can efficiently perform as a beginner.
So, here I’ve come up with five of the most convenient beginner-friendly methods that’ll show you how to curl long hair with styling tools.
Table of Contents
Before You Begin
In this article, I’ll show you different ways on how to curl long hair with a curling iron, how to curl long hair using a flat iron, and how you can do it with the old-school hot rollers. But before we begin, here’s a few essential things you should know.
- It’s best to practice using your curling wand or flat iron from an off position. It allows practicing the hair curling techniques without causing any accidental burns.
- Never forget to apply a good heat protectant before you use a hot tool on your hair. It’s vital for your hair’s health, as the applied heat not only dries hair, but it can also destroy the inner structure of your hair or even diminishes the longevity of your hair’s natural color. The HSI PROFESSIONAL Argan Oil Heat Protector a top-notch product you can keep your trust on.
- Don’t ever go over 392 degrees Fahrenheit to keep the hair color from fading when curling your hair. Turn it down and adjust with the slow speed of styling for creating better curls with lesser damage.
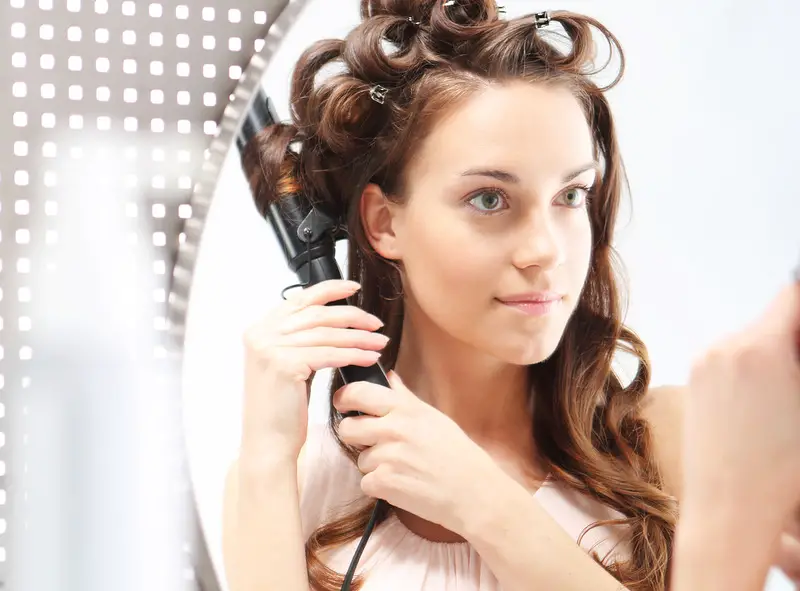
Curling Your Long Hair with a Curling Iron
To curl your hair with a curling iron or a curling wand, you’ll need the right size tool first thing. A barrel with a smaller diameter (1 inch or less) creates smaller curls, and naturally, they consume more time as you’ll need to wind lesser hair with every attempt with a section. A larger curling iron (1.5 inches or more), on the other hand, creates larger curls and looks more like waves.
With longer hair come more amount of curls. The more wraps you create around the wand without any overlaps, the more curls you’ll achieve.
You can choose the curling iron material as per your hair type. I personally like the T3 Whirl Trio Interchangeable Styling Wand for the lasting results it provides despite the higher price tag. The Conair Pro Ceramic Porcelain Spring Curling Iron is also pretty much preferable a choice as a low budget pick.

Now, before applying your curling iron on your hair, it’s necessary to prepare your hair to make sure you get the curl with a lasting hold. After all, why going through all those hot procedures if you can’t make it last beyond a single night out?
Here, I’ll suggest two of my most favorite curl-enhancing mousse and cream; the Moroccanoil Curl Defining Cream and the TIGI Catwalk Curls Rock Amplifier. They not only preps you for holding curls but also protect it from the heat. Apply any of the two before drying your hair.

1. Achieving Beachy Curls with a Curling Iron
Beachy curls or loose waves are great for effortless casual looks. Here’s how you’ll get it on your long hair.
- Single out a 2-inch section of hair at your neck and clip all the rest. This helps a lot when curling a small section at a time and working all the way up to your head.
- Now comb it through and add some mist with hairspray.
- Wrap it around a large barrel of a curling iron.
- Then hold it for 10-20 seconds and release it afterward. Clip it with a bobby pin.
- Repeat the whole process, sections after sections, until your hair is completely curled. Remember to let it cool down before you unclip them.
- You can disperse the curls with your fingers as you like or brush them out gently for a more romantic look.
2. Achieving Bouncy Curls with a Curling Iron
The process of achieving smaller bouncy curls is pretty much similar to the process we’ve just discussed above, except this time, you’ll be using a smaller barrel curling wand.
- Clip up your hair, leaving the once section at the base of your neck you’ll work on. The smaller the section, the more you’ll get the curls.
- Now comb it through and add some mist with hairspray before wrapping your hair around the curling wand.
- Hold on to the curls for 10-20 seconds and then release.
- Use double-prong clips or bobby pins to clip each of the curls into place.
- Start unclipping after it has cooled down. Use your fingers to separate and style the curls accordingly. You can also gently disperse them with a wide-tooth comb.
Curling Your Long Hair with a Flat Iron
Curling hair with the help of a flat iron hasn’t been a trend ever before as it is nowadays. You can achieve a lot of curl variations from loose waves to ribbon curls with a hair straightener easily.
Although you can get those curls with almost every type of flat irons, I’d suggest to do it with a flat iron that has rounded-edged plates. The plate width also matters; with wider plates come wavier curls. The BaBylissPRO Nano Titanium C-Styler is a product worth mentioning here. You’re bound to adore the unbeatable curly results it produces.
Also, you’ll need to prepare your hair before going into the styling process in a similar way I’ve discussed above in the curling iron segment.
1. Achieve Ribbon Curls with a Flat Iron
Using a flat iron, a ribbon curl is a tighter curl with a bouncier effect. Here’s how you’ll do it.
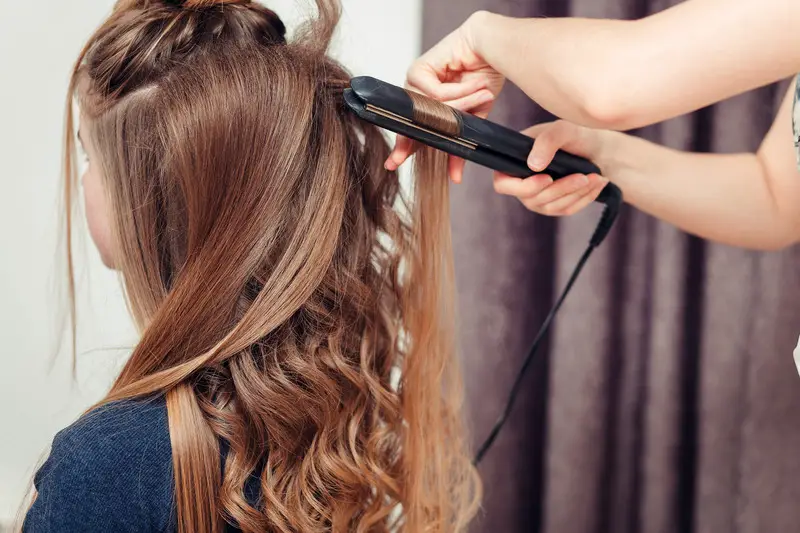
- Single out a section that is 1-inch in length and 0.5-inch in width and hold it in your one hand. Hold the flat iron with the other hand vertically with your palm facing your head.
- Place the straightener diagonally into the hair section. Pinch the section at the base while you’re still holding it with a hand.
- Slide the iron slowly down to the hair shaft’s end, and release it. This will create a springy ribbon curl.
- Continue with the rest of your hair and set it firmly with a hair setting spray.
- Comb throughout your hair with a styling brush to the ends and then hold the hair at its bottom for a few moments. It’ll relax the waves.
- Release the hold, and the stunning ribbon curls will appear.
2. Create Push Waves with a Flat Iron
With push wave curls, you’ll get a style with an organic finish. It creates an “S” figure and is also defined as an S wave.
- Start with separating horizontal sections. Begin from the scalp; pinch the section using your thumb and index finger.
- Place the flat iron over the pinch and start tapping over. Until the hair section is heated thoroughly, keep pushing the hair section in the same direction.
- Move the pinch down and keep tapping the section again and again. Only this time, you’ll pull the hair section in the direction opposite to the previous one.
- Stay focused on making the “S” pattern.
- Keep repeating the pushes and pulls until the hair ends are reached.
- Wa-la! Now you have organic waves on your hair having a remarkable texture, pretty much different than creating curls with a curling iron.
Curling Your Long Hair with Hot Rollers
Hot rollers are probably the only hair tool we find associated with the grannies in their nightgowns. Despite struggling to cope with the latest trends, hot rollers are something many of us still find comfort and pleasure to curl our hair with, especially those with long hair.
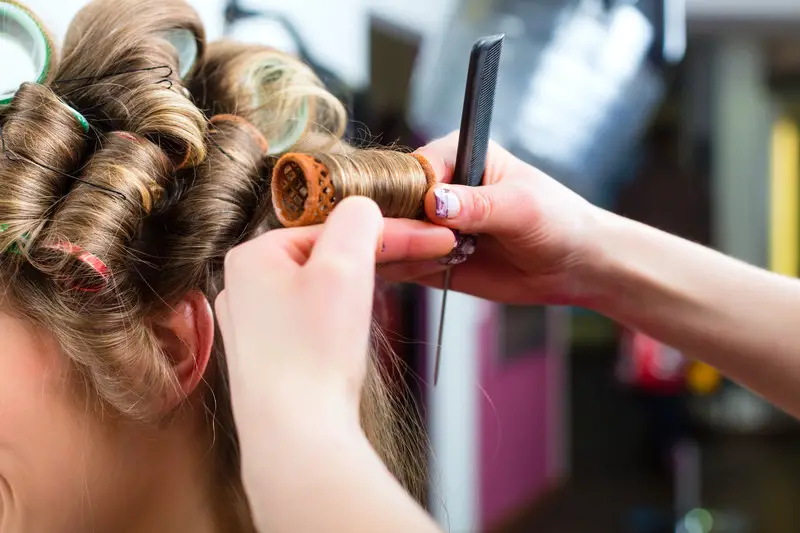
If you’ve taken an interest in giving it a go, but have no idea how to use hot rollers for curling long hair, I’m here to help. I’ll show you the simplest of all methods, the traditional one, that’ll be a piece of cake for a job.
- You’ll have to begin with clean hair this time. Avoid using cream or mousse before you start rolling your hair.
- Comb through your hair strands and make a minimum of four sections.
- Roll the sections around the hot rollers. You can also twist it if you prefer.
- Secure the rollers into place with clips.
- Let those curls set in properly until cool.
- Shake out your curls gently using your fingers.
- You must avoid any brushing, or the look will be ruined.
- Mist the curls, spraying all over them with a hair setting spray. You’ll get extra volumes if you spray when the curls hang upside down.
- Now you can apply the mousse or hair wax for more defined curls.
A Few Additional Hair-Curling Tips
- Never, ever apply heat on wet hair, make sure it’s completely dry to avoid severe hair damages.
- Try to clip the curls with versatile double-pronged clips or bobby pins; they are cheap and convenient to use.
- Clipping the curls whilst cooling down keeps them away from your face while you’re doing the rest of the sections. Besides, it sets in the curls into place perfectly.
- Always let the curls cool down before styling.
- Combs with wider teeth help you get a more textured look while brushing results in softer waves and curls.
- To get a more natural curly hair effect, use your curling iron without its clip. Wrap your hair around the hair and twist instead.
Windup
Practice makes everything perfect. Don’t get sunk in despair just yet if you didn’t get the desired look with your first attempt. Get used to using the hot tools and keep up with the drills I’ve discussed above.
Once you master all these techniques, which I believe you will with a couple of tries, you can get more creative to combine a lot more.